<body><script type="text/javascript"> function setAttributeOnload(object, attribute, val) { if(window.addEventListener) { window.addEventListener('load', function(){ object[attribute] = val; }, false); } else { window.attachEvent('onload', function(){ object[attribute] = val; }); } } </script> <div id="navbar-iframe-container"></div> <script type="text/javascript" src="https://apis.google.com/js/platform.js"></script> <script type="text/javascript"> gapi.load("gapi.iframes:gapi.iframes.style.bubble", function() { if (gapi.iframes && gapi.iframes.getContext) { gapi.iframes.getContext().openChild({ url: 'https://www.blogger.com/navbar.g?targetBlogID\x3d37674881\x26blogName\x3dThe+Closet+of+Lulu+Persnickety\x26publishMode\x3dPUBLISH_MODE_BLOGSPOT\x26navbarType\x3dSILVER\x26layoutType\x3dCLASSIC\x26searchRoot\x3dhttps://closetoflulupersnickety.blogspot.com/search\x26blogLocale\x3den_US\x26v\x3d2\x26homepageUrl\x3dhttp://closetoflulupersnickety.blogspot.com/\x26vt\x3d-6391822709039125794', where: document.getElementById("navbar-iframe-container"), id: "navbar-iframe" }); } }); </script>

The Closet of Lulu Persnickety

A collection of oddities found in the closet of a most peculiar woman.
 

It's been a long time.

Tuesday, June 22, 2010

After a lot of health issues, some depression, lack of inspiration, and the birth of my second child I finally found my craftiness again. I was invited to design costumes for a local theatre group and felt my spirit soar. I've been doing more personal projects too...

I was asked to design costumes for a production of Elephant Man in the Fall of 2009 and was inspired to learn more about Victorian garment making. I bought some historically acurate patterns and made these under and over skirts.


Then I got distracted when asked to work on another production. So my goal this summer of 2010 is to make 18th century garments. I started with a women's dress using Simplicity 9746. I modified it a bit but I think it turned out nice. I also found a black felt hat at the Salvation Army and decorated it in the period style.


I then began work on some men's coats. I used Butterick 3072, which I thought to be the most accurate without having to draft my own pattern.


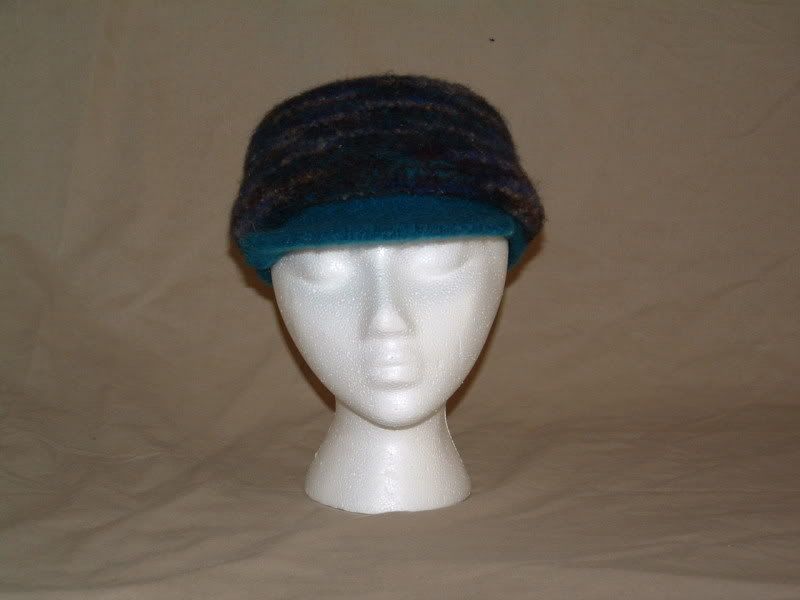
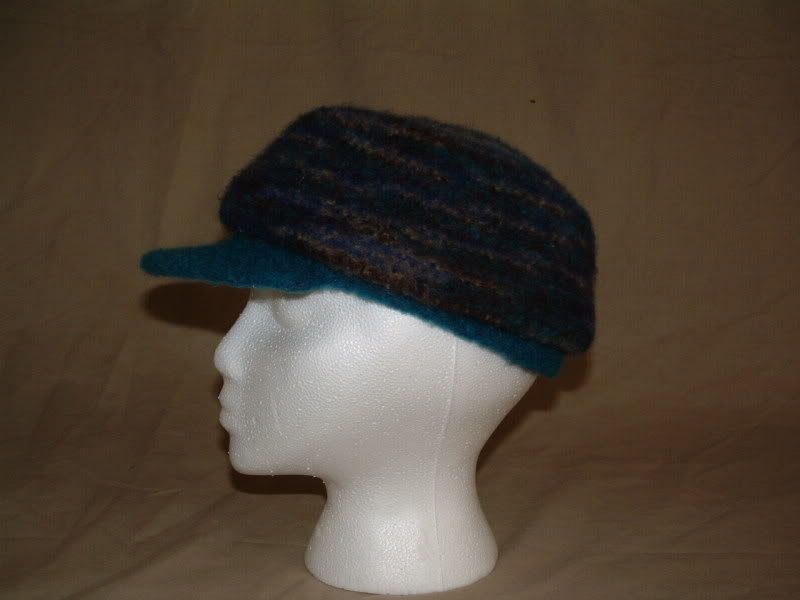
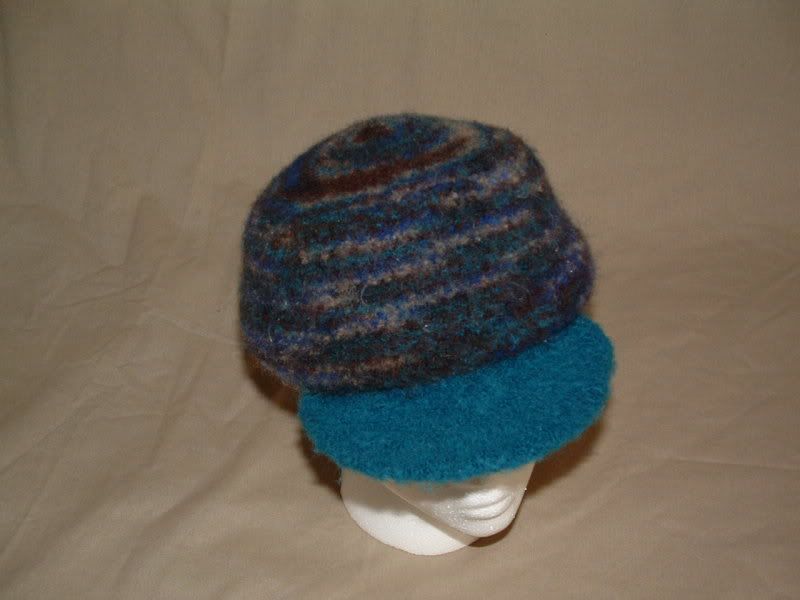
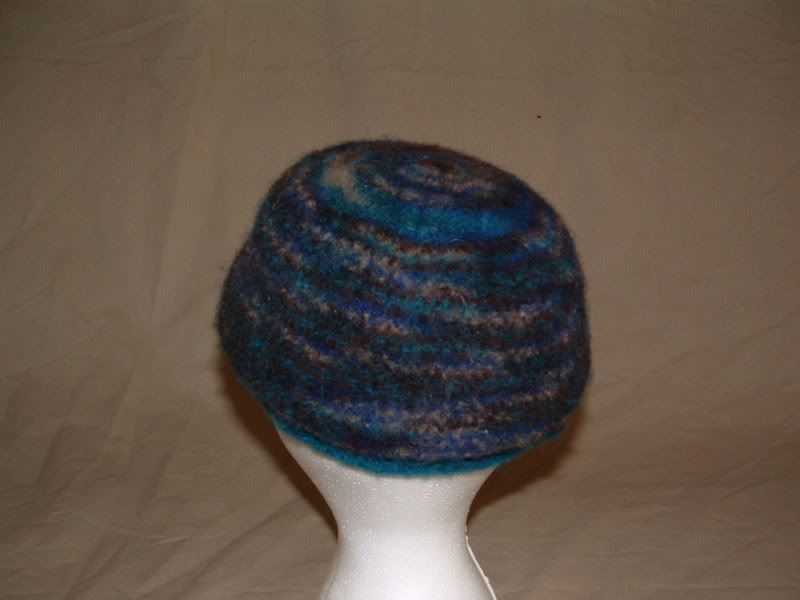
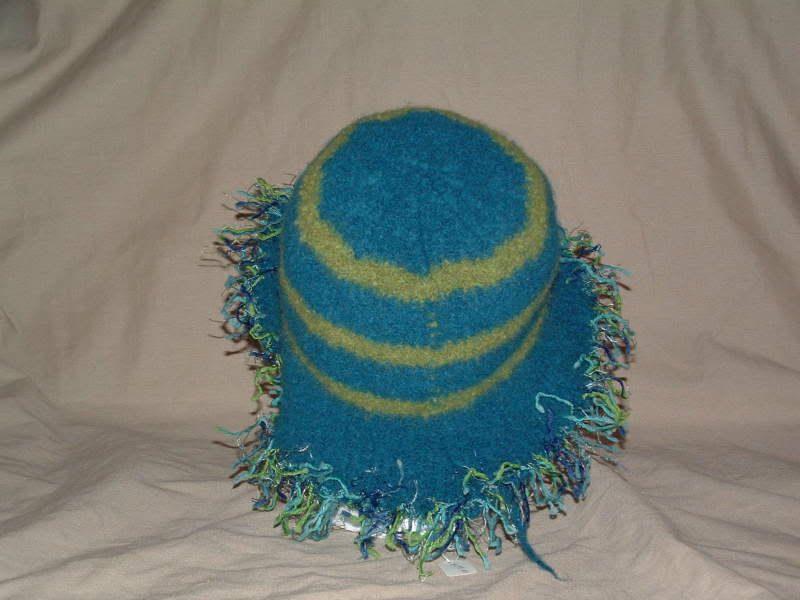
Greek Fisher Style Knitted Felted Hat

Friday, February 16, 2007

Well, this was take two on my design process for my knitted felted Greek Fisher style hat. Although the Cascade yarn was nice, I didn't know what to expect upon felting. So it came out all wrong. It didn't help that I used 4 ply yarn for the brim and band and then 3 ply yarn for the rest of the hat. I was pleasantly surprised when this one came out. I used my standard Patons yarn in Teal for the brim and Retro for the top. I was using up scrap yarn for this prototype and am looking forward to using more normal (?!) colors in the future.


Labels: , ,

Juggling Sticks!

Tuesday, February 13, 2007

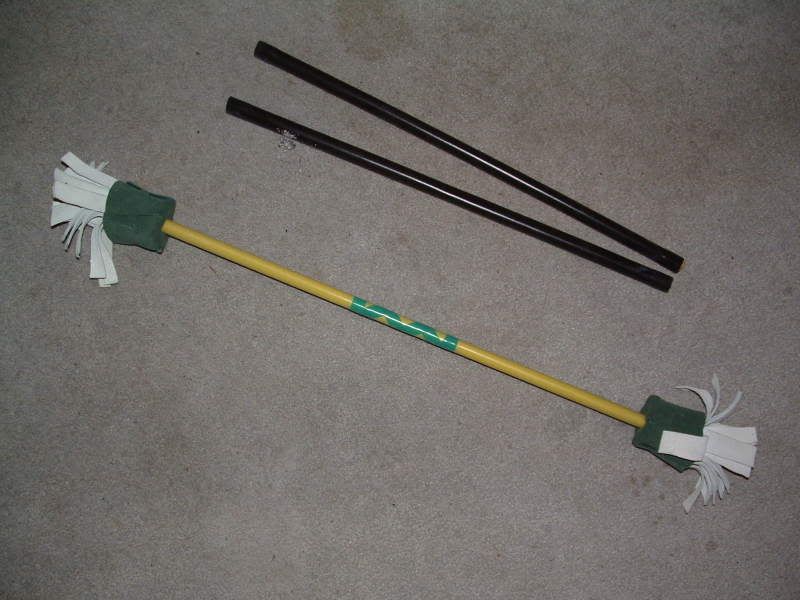
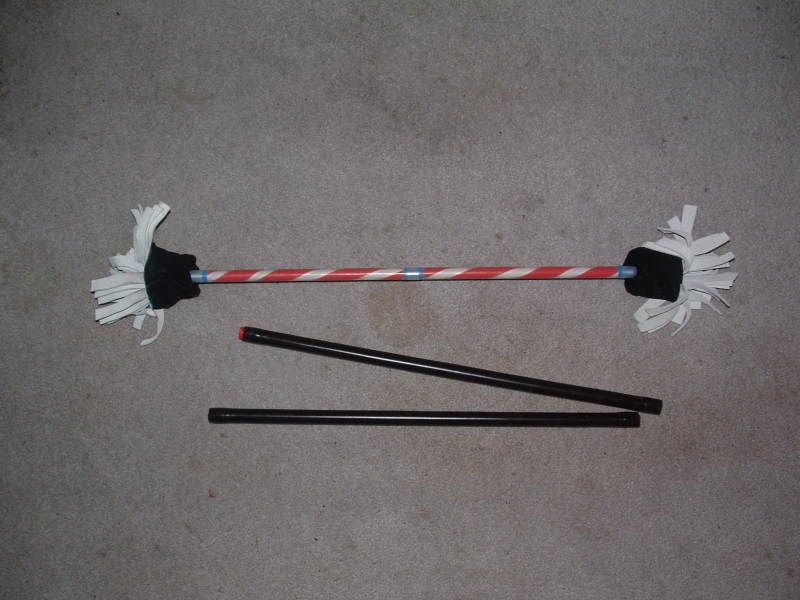
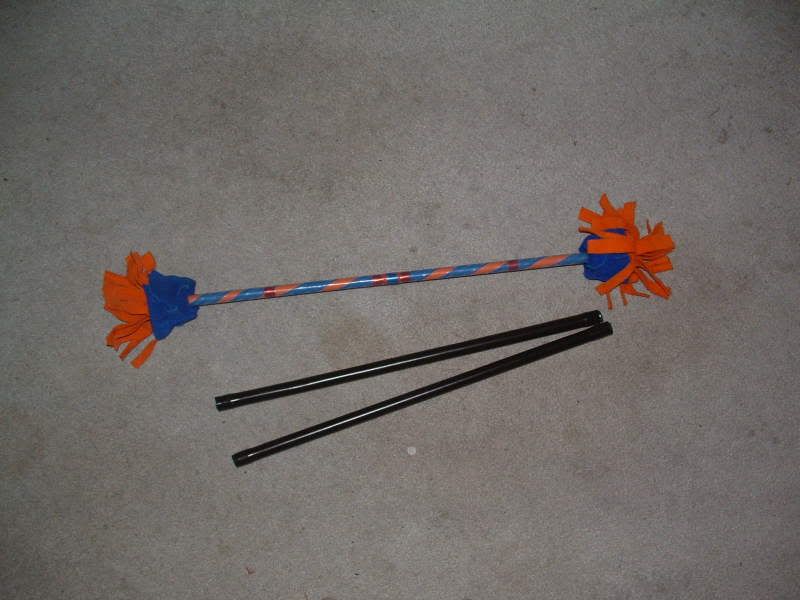
All my juggling sticks are made of the highest quality materials; top grade leather, silicone tubing, and an indestructable core. I can take requests for color combinations. Each purchase comes with two black control sticks, a main decorative stick, a wrap to keep them together, and an instruction manuel.


Yellow and green set.


Red and Black set.


Blue and Orange set.

HATS!!!


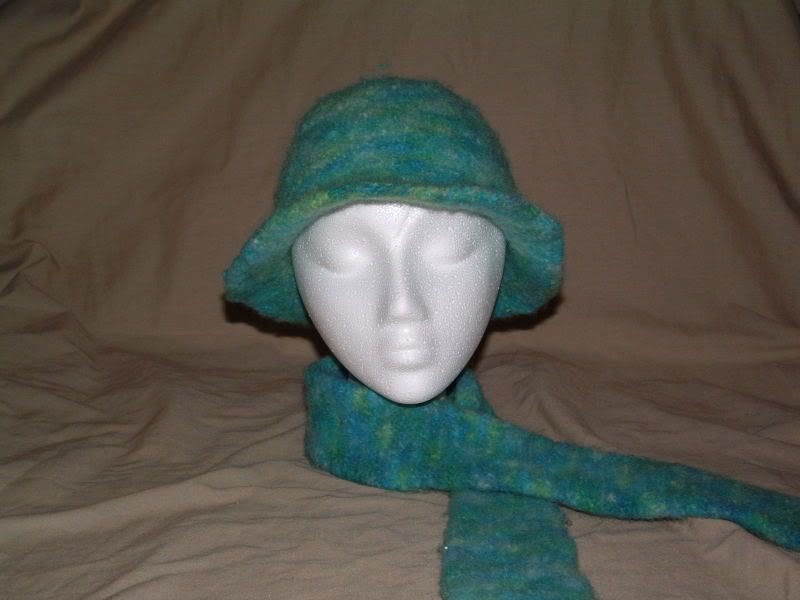
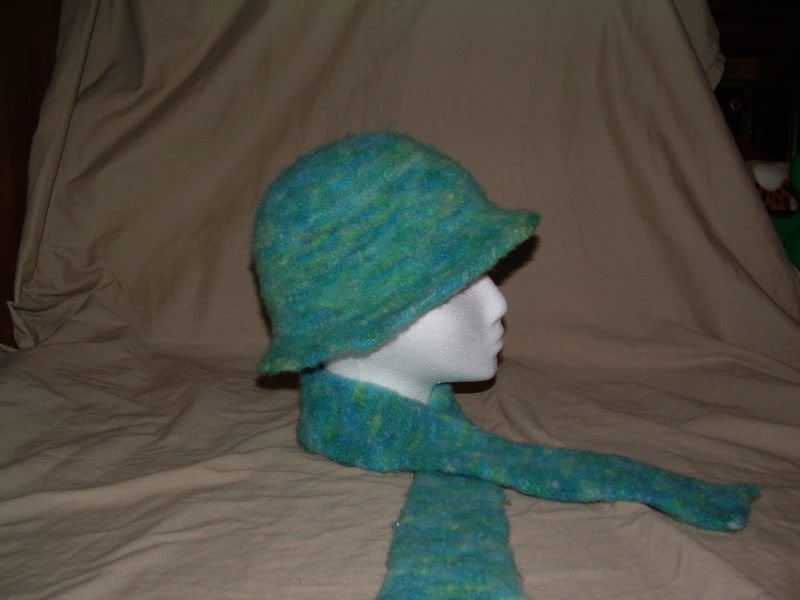
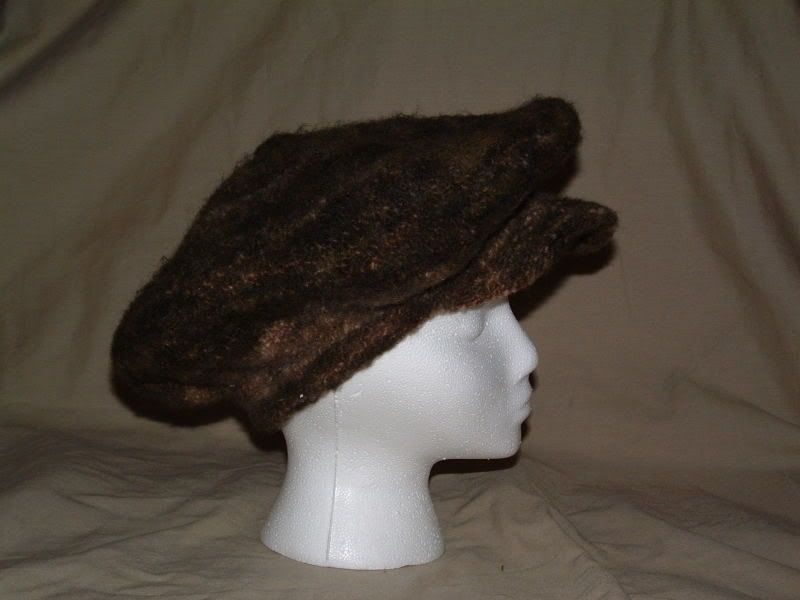
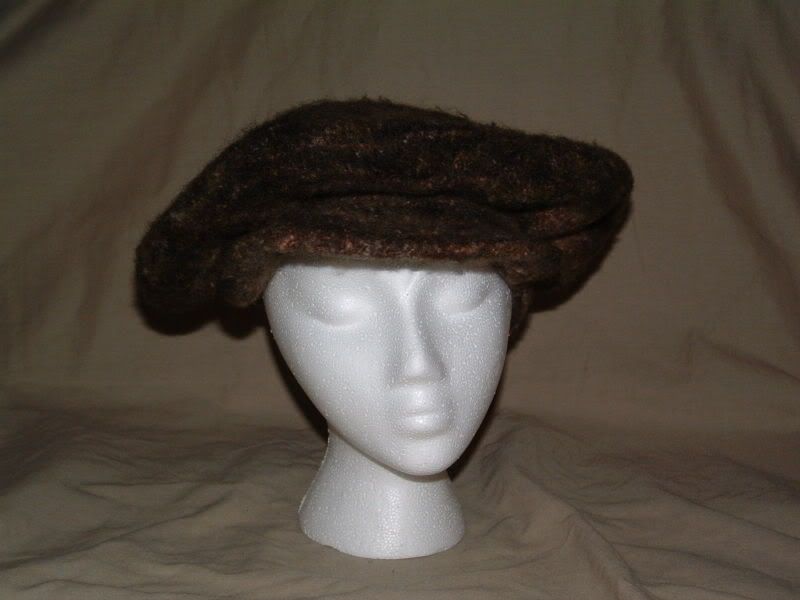
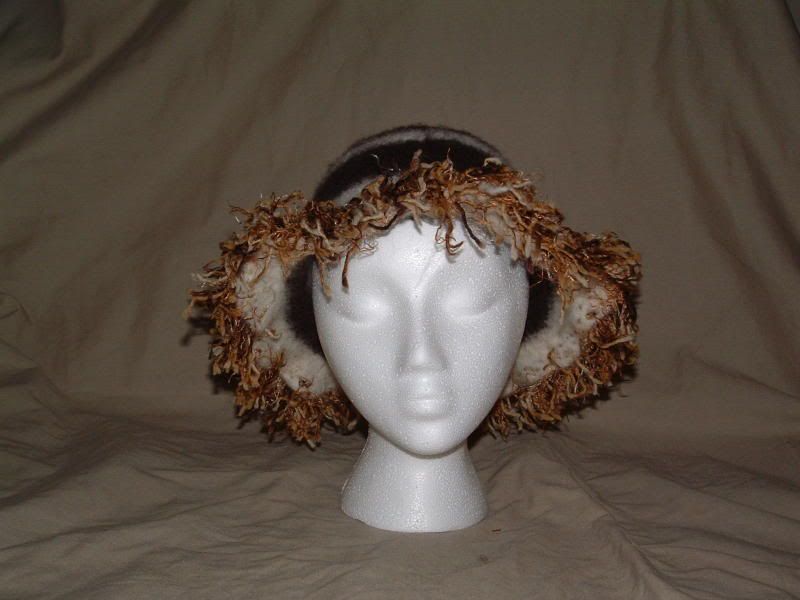
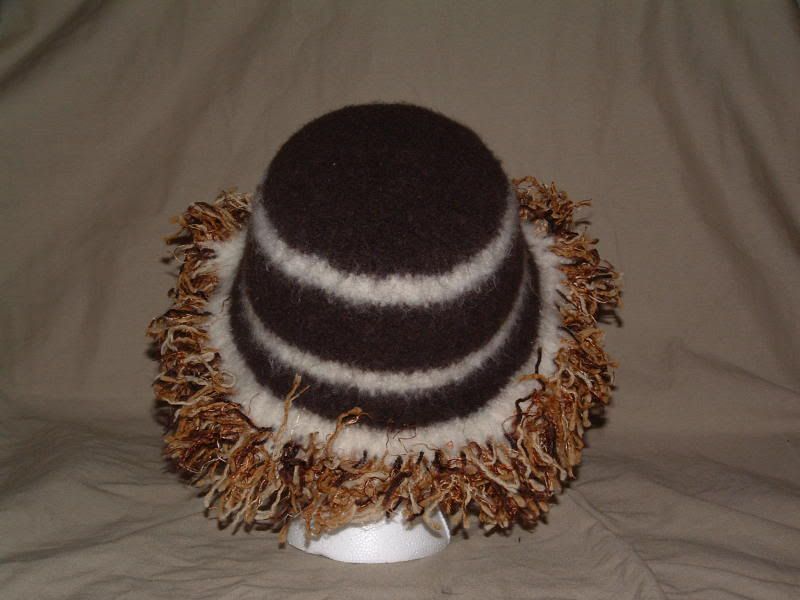
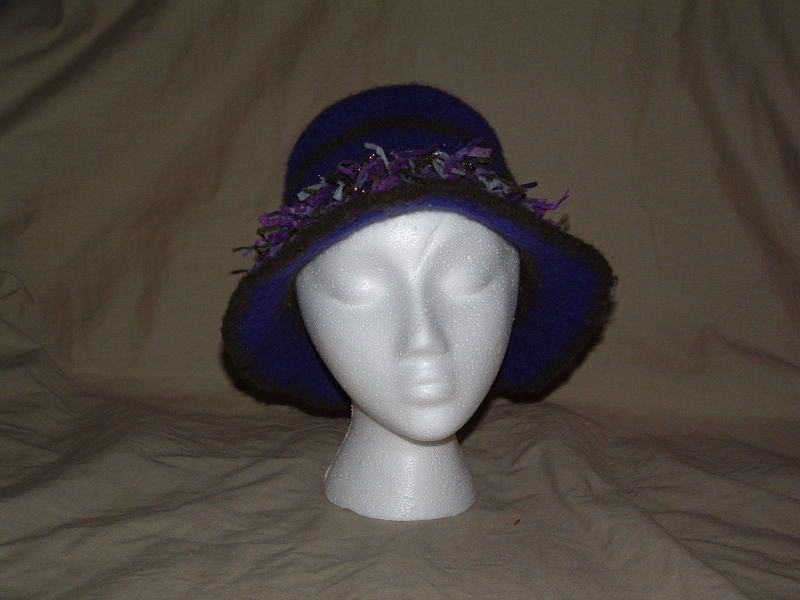
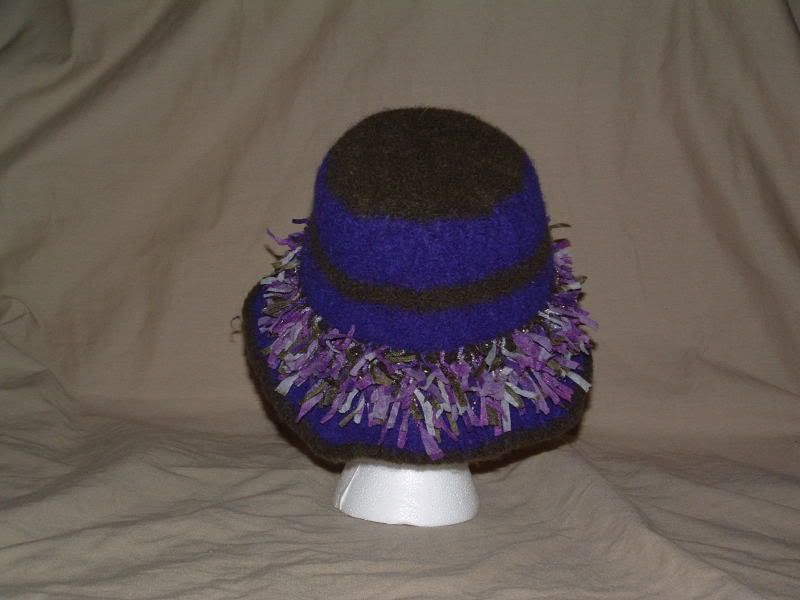
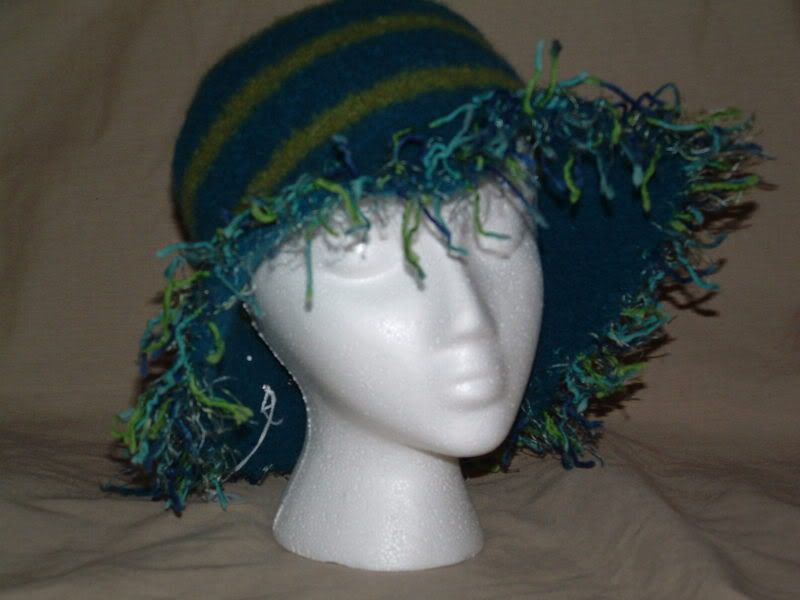
All my hats fit the average head size of 22 - 22 1/2 inches circumference. The base of each hat is 100% merino wool and felted unless otherwise stated. I can take requests too for colors and sizes as well. Contact me via email at goostyx@yahoo.com

Teal child size hat and scarf set. FOR SALE!


The mushroom hat. SOLD!


Brown and white lampshade hat. FOR SALE!


Purple and green hat. FOR SALE!


Teal and green lampshade hat. FOR SALE!


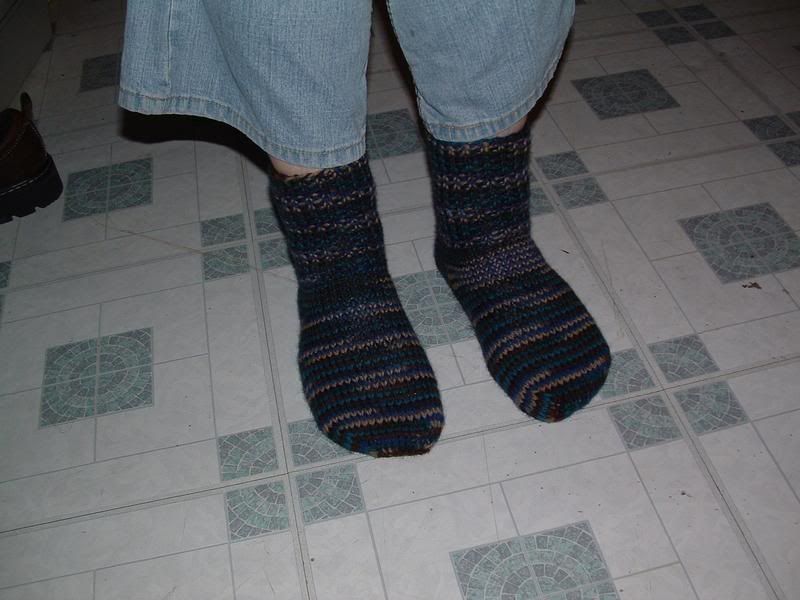
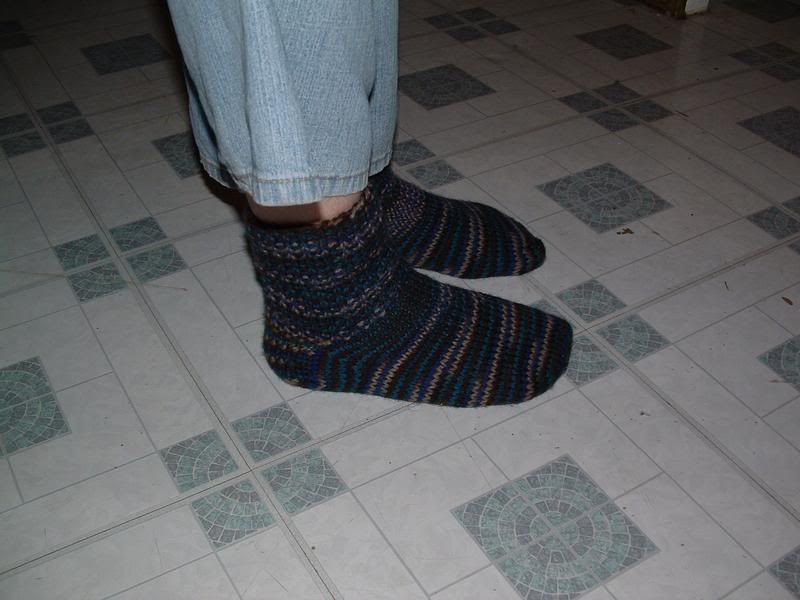
Amazing Feets Socks

Saturday, January 27, 2007

Well I finally had the time to make myself a pair of socks. This was a simple and easy to follow pattern. I did decide to make the cuff with size 5 US needles and then move up to the size 6 US needles for the rest of the sock. These are really comfy and fit surprisingly well. I used Patons, the suggested yarn, in the color Retro.

If you need help with starting a sock knitting odyssey I suggest utilizing the Socks 101 page. It was created by Terri Lee Royea. Her efforts in documenting the sock making process are awesome!


The pattern for Amazing Feets socks can be found here.

Labels: , ,

Process is showing progress... An inside peek on the Woodland Fairie Bodice.

Tuesday, January 16, 2007

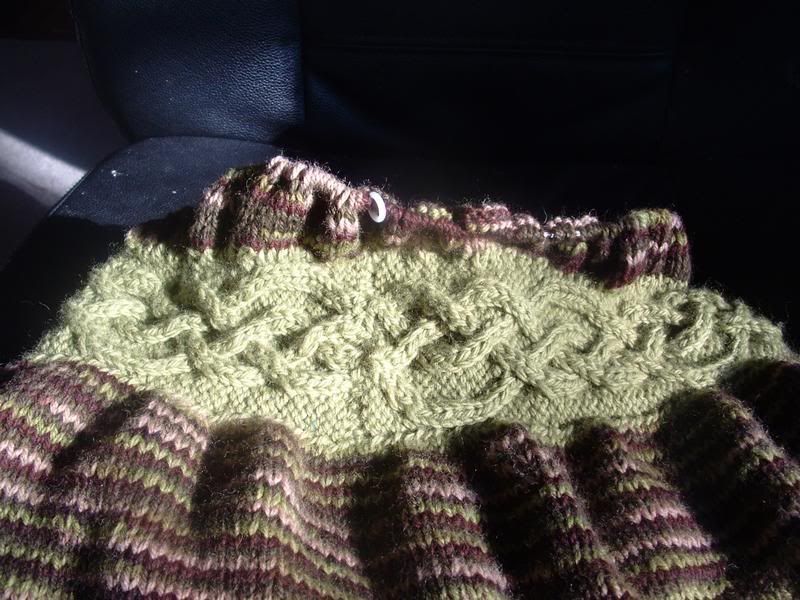
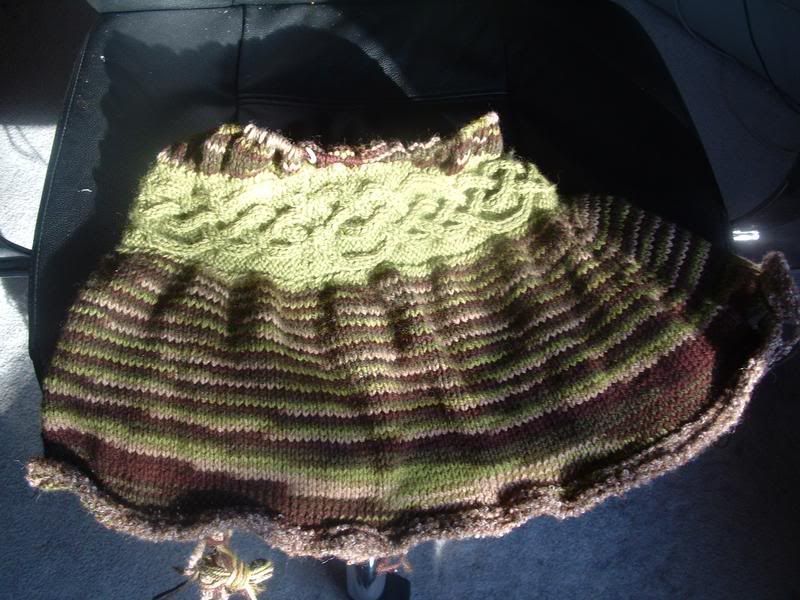
As I have said before, I am not really a process person when it comes to my art. I don't feel like the process should be public when the final 'product' is what really matters to me. But here I am, doing something new. That's good. I have been working on my own design for a sweater. I really love the Nordic knotwork and have wanted to incorporate it in my own design for a while. My design is called the Woodland Fairie Bodice. It's a tunic style sweater with a knotwork waistband. So far I have completed the waistband and bottom half of the sweater. I'm hoping to have a V neck with the same edging as the bottom. The sleeves will be long, but there will be a cuff just above the elbow with the knotwork design. I am using Paton's Classic Merino Wool in Leaf Green for the knotwork on size 7 needles, and Paton's Classic Merino Wool Forest for the body on size 8 needles. The edging is Plymouth Yarn's Alpaca Boucle on size 11 needle. Most of the body is worked in the round.

Here's a close up of the knotwork.

Photobucket - Video and Image Hosting


Here's a view of what I have finnished so far, which is the bottom half of the sweater.

Photobucket - Video and Image Hosting

Labels:

Pattern for Twisted Brains

Wednesday, December 27, 2006

Twisted Brains by Julie Kinsey


Supplies:
1- 16 " circular needles size 10
Set of 5 DPNs - Size 10
Cable needle
Yarn needle for finishing
1 ball bulky (5) weight yarn (Brand used in sample is Bernat's Softee Chunky)


Abbreviations:
K- knit
p- purl
s2K- slip two stitches knit wise
s2p- slip two stitches purl wise
K2tog- knit 2 sts together
p2tog- purl 2 sts together
2LT - (Left twist) Slip 2 sts to cable needle and hold in front, p2, then k2 from cable needle
2RT- (Right twist) Slip 2 sts to cable needle and hold in back,K2, then p2 from cable needle


This hat should fit an head sizes 19" - 22". It has a good deal of stretch to it. If you would like it to fit closer, then cast on with smaller needles for ribbing then switch to larger needles for the cable pattern.

Cast on 84 sts with US size 10, 16" circular needle. Join in round, being careful not to twist work. Place Contrasting marker to mark beginning of the round.
K2, p2 for 5 rounds.

Cabled pattern: (worked over a series of 12 sts)
There is always a round of moving the twists and a round of stabilizing the twists.
There will be a point when you will need to jog two sts over the marker in a cable twist. Always carry yarn behind the work when doing this. just jog the the sts then replace marker after the two sts are jogged. Continue in next round.

round 1: *{K2, p4, 2RT} (so that you are k 2, p4) - *repeat until end of round
round 2: *{K2, p4} - *repeat until end of round
round 3: *{2LT, 2RT,p4} - *repeat until end of round (pattern will be p2, {K4, p8} repeats then p4)
round 4: p2, *{K4,p8} - * repeat until end of round. there will be 4 sts left, p those
round 5: *{2RT, p2, 2LT} * repeat until end of round.
round 6: *{K2, p4} - * repeat until end of round.
round 7: s2K, p4, *{2RT, p4, 2LT} - * repeat until end of round. last 4 sts are 2LT
round 8: *{p8, K4} - * repeat until end of round. last 2 sts of this row will be transferred to next round in the 2LT
round 9: *{2LT, p4, 2RT, p4} - * repeat until end of round.
round 10: *{K2, p4, 2RT}- *repeat until end of round (this is back to the beginning of pattern)

Repeat cable pattern until work measures 6 inches. This should be when the pattern is p2, {K4, p8} just after the twist
Switch to DPNs and divide sts evenly

Begin decrease:
round 1: *{p2tog, K4, p2tog, p6} - *repeat until end of round ~ 70 sts
round 2: *{K4, p6} *repeat until end of round
round 3: s2p *{K4, p2tog, p4, p2tog} *repeat until end of round the last p2 will use the first sts of the round~ 56 sts
round 4: *{k4, p4} *repeat until end of round
round 5: *{2LT, p2tog, p2, p2tog} *repeat until end of round ~ 42 sts
round 6: *{K4, p2} *repeat until end of round
round 7: *{K2tog, K2tog, p2} - *repeat until end of round ~28 sts
round 8: *{K2, p2} - *repeat until end of round
round 9: *{K2tog, p2tog} - *repeat until end of round ~14 sts

Cut yarn, leaving a long tail. Using yarn needle thread yarn through last 14 sts twice and draw closed tightly. Weave in ends.

Here's the pattern as a jpeg file with cable graph:


Any questions or comments can be sent to: goostyx@yahoo.com

Labels: , ,

The Skull Illusion Scarf

Tuesday, December 26, 2006


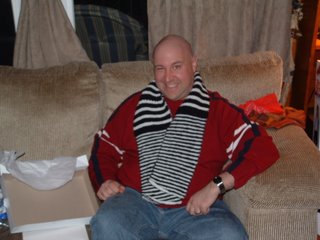
Well, even though I made this one a bit on the shorter side, it came out awesome. Brian's eyes lit up the second I revealed the secret of the scarf.


I found this pattern at Ysolda's blog


More pics are on their way.


© 2006 The Closet of Lulu Persnickety | Blogger Templates by Gecko & Fly.
No part of the content or the blog may be reproduced without prior written permission.
Learn how to Make Money Online at GeckoandFly


Counter
Walmart Online Shopping